
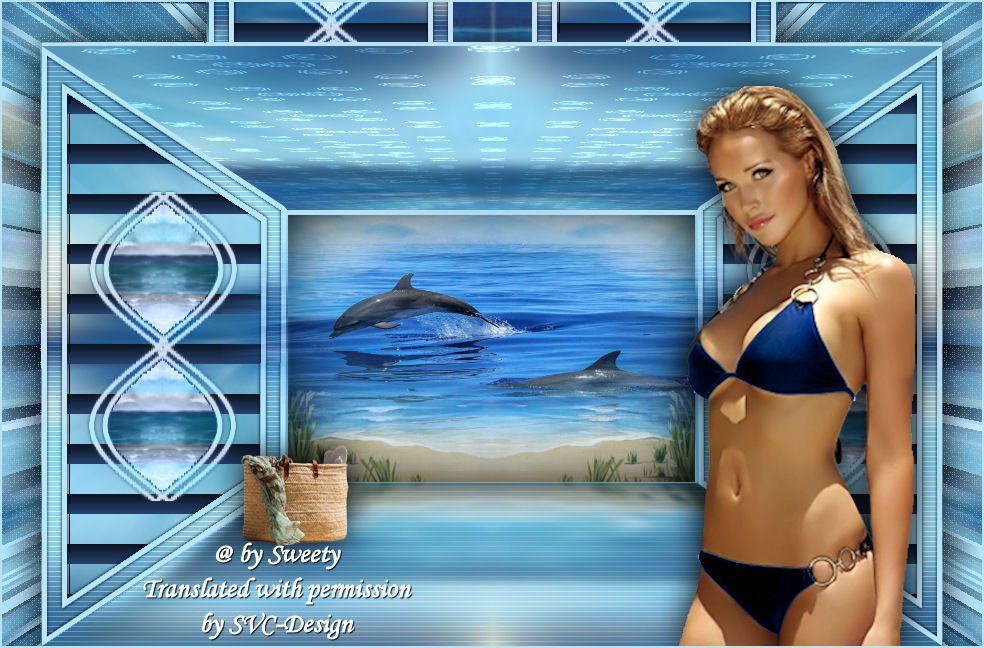
This lesson is made with PSPX9
But is good with other versions.
© by SvC-Design

Materialen Download :
Here
******************************************************************
Materials:
DECO PERSO 1 161 TUTORIEL 161 JUILLET 2021 SWEETY.png
DECO PERSO 2 161 TUTORIEL 161 JUILLET 2021 SWEETY.png
PERSPECTIVE SHADOW 161 SWEETY.f1s
SELECTION SPECIAL DECO 1 1161 .PspSelection
SELECTION SPECIAL DECO 2 161 .PspSelection
SELECTION 1 161 .PspSelection
SELECTION 2 161 .PspSelection
SELECTION 3 161 .PspSelection
SELECTION 4 161 .PspSelection
SELECTION 5 161 .PspSelection
SELECTION 5 BIS 161 .PspSelection
SELECTION 6 161 .PspSelection
SELECTION 7 161 .PspSelection
SELECTION 8 161 .PspSelection
AOUT 2021 BORD DE MER 1 SWEETY.png
AOUT 2021 DAUPHINS 1 SWEETY.png
AOUT 2021 SAC DE PLAGE 1 SWEETY.png
Peaceful+Beach+Scene+-+Print+on+Canvas.jpg
******************************************************************
Plugin:
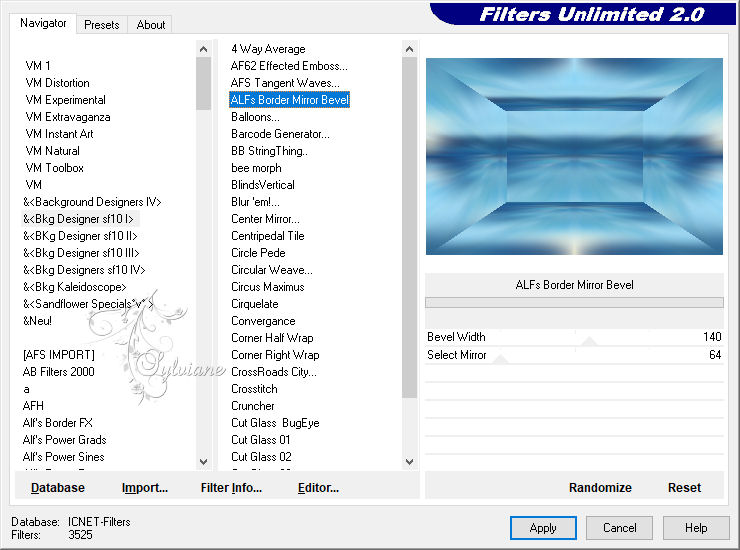
Plugin - Unlimited 2.0 - & <Bkg Designer sf10 sf10I> - ALFs Border Mirror Bevel
Plug in - Carolaine and Sensibility - cs_texture
Plugin - Alien Skin Eye Candy 5 - Impact - Perspective Shadow
Plugin - VanDerlee… Unplugged X - Jalusi
Plugin - Unlimited 2.0 - Tile & Mirror - XY Offset 50% (Negative)
Plugins - VM Toolbox - Zoom blur
Plugin - Xéro - Tekstya
******************************************************************
color palette
:

******************************************************************
methode
When using other tubes and colors, the mixing mode and / or layer coverage may differ
******************************************************************
General Preparations:
First install your filters for your PSP!
Masks: Save to your mask folder in PSP, unless noted otherwise
Texture & Pattern: Save to your Texture Folder in PSP
Selections: Save to your folder Selections in PSP
Open your tubes in PSP
******************************************************************
We will start - Have fun!
Remember to save your work on a regular basis
******************************************************************
1.
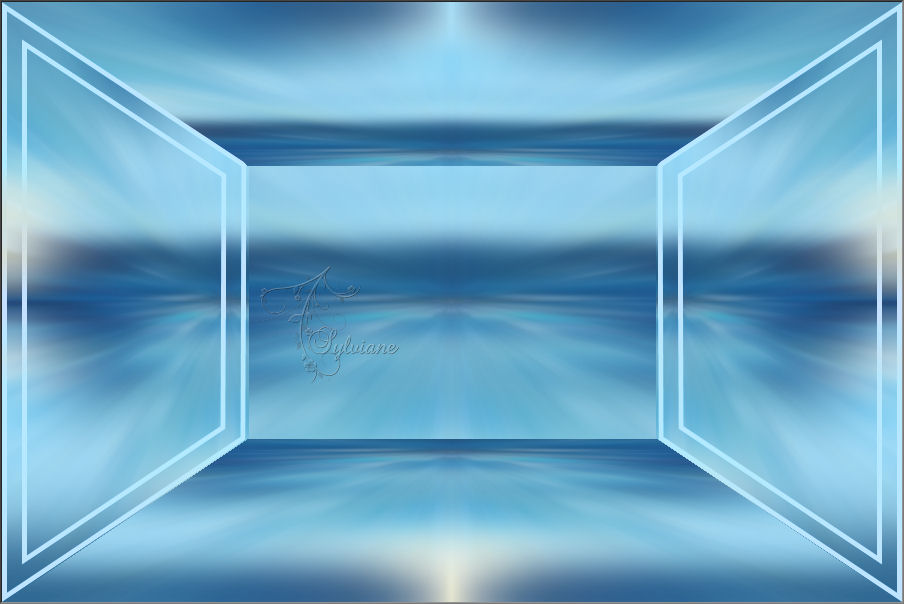
Choose a landscape image that appeals to you. Take 2 colors (AVP: Dark / ARP: Light) -
(Note: If possible choose a bright landscape)
Open a transparent image of 900/600 pixels
Selection - Select All
Open your landscape
Edit – Copy
Edit - Paste into selection
Selection - Select None
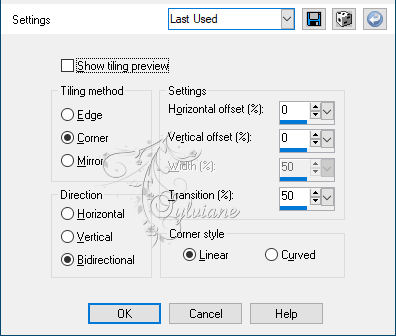
Effects - Image Effects - Seamless Tiling
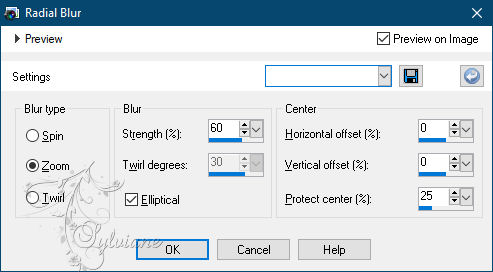
Adjust - blur - radial blur
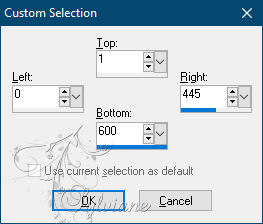
2.
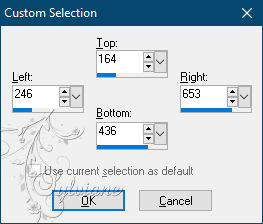
Selection - Custom selection
Delete or delete on the keyboard.
Selection - Select None
Layers - Duplicate
Image - Mirror – mirror Horizontal
Layers – merge – merge down
Plugin - Unlimited 2.0 - & <Bkg Designer sf10 sf10I> - ALFs Border Mirror Bevel
3.
Selection - Custom selection
Selections - Invert
Selections – Promote selections to layer
Selection - Select None
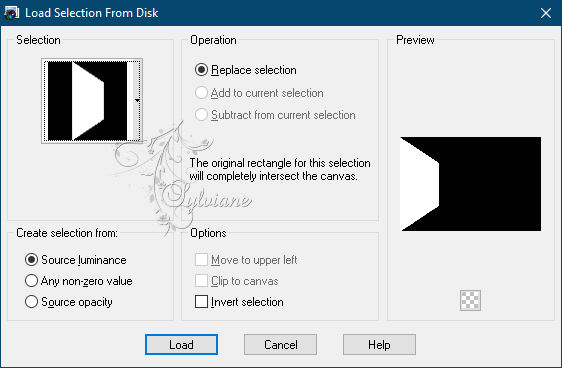
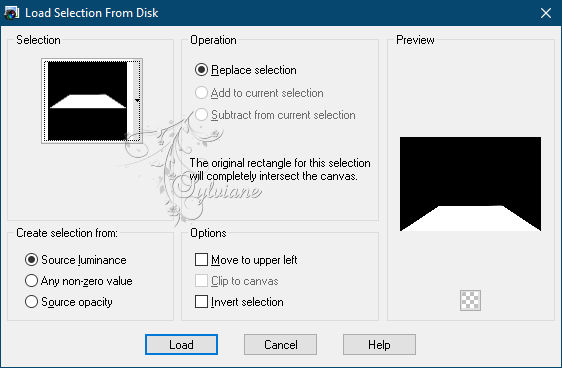
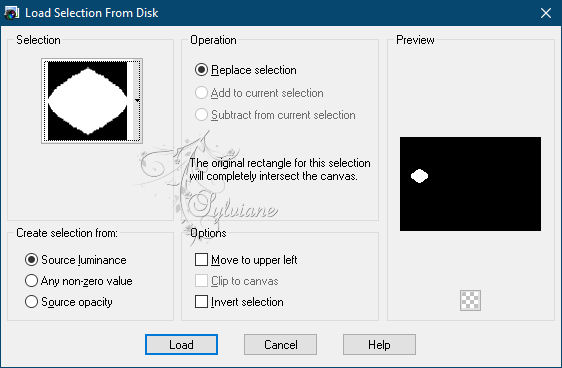
Selections - Load / Save - Load selection from disk - SELECTION 1 161 .PspSelection
Selections – Promote selections to layer
Selection - Select None
Layers - Duplicate
Image - Mirror – mirror Horizontal
Layers – merge – merge down
4.
Open DECO PERSO 1 161 TUTORIEL 161 JUILLET 2021 SWEETY.png
Edit – Copy
Edit - Paste as new layer
Do not move it, it is in its place
Note :(In the material I put the selection * special decoration 1 161 *
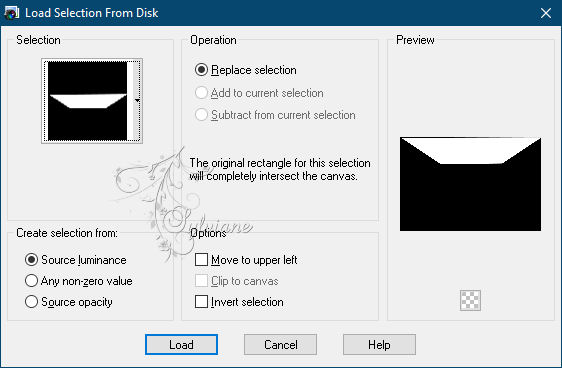
Selections - Load / Save - Load selection from disk - SELECTION 2 161 .PspSelection
Activate Promoted Selection
Selections – Promote selections to layer
Selection - Select None
5.
Activate Promoted Selection
Selections - Load / Save - Load selection from disk – SELECTION 3 161 .PspSelection
Selections – Promote selections to layer
Selection - Select None
Plug in - Carolaine and Sensibility - cs_texture

6.
Layers - New raster layer.
Selection - Custom selection
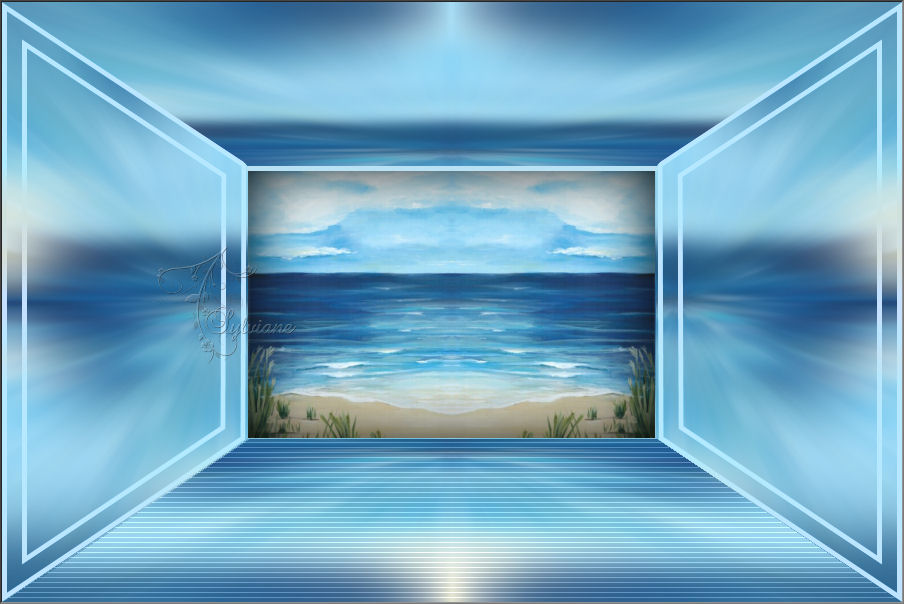
Open the landscape image of your choice.
Edit – Copy
Edit - Paste into selection
Select - Invert.
Effects - 3D Effects - Drop Shadow:
0/0/100/100 / color # 000000.
Selection - Select None
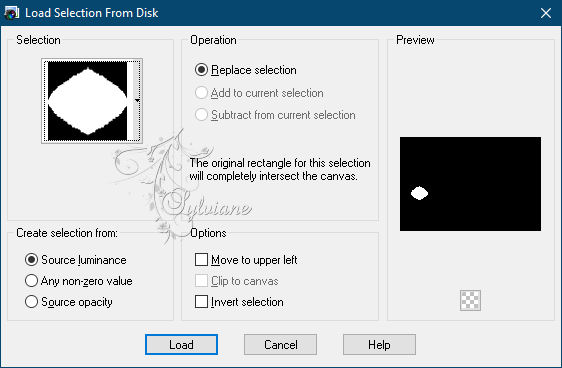
Selections - Load / Save - Load selection from disk – SELECTION 4 161 .PspSelection

Fill the selection with #b8c2f2
7.
We get this and we're on Raster 3
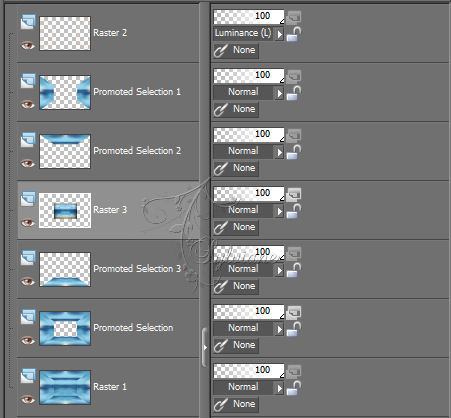
Layers - Duplicate
Activate Raster 3
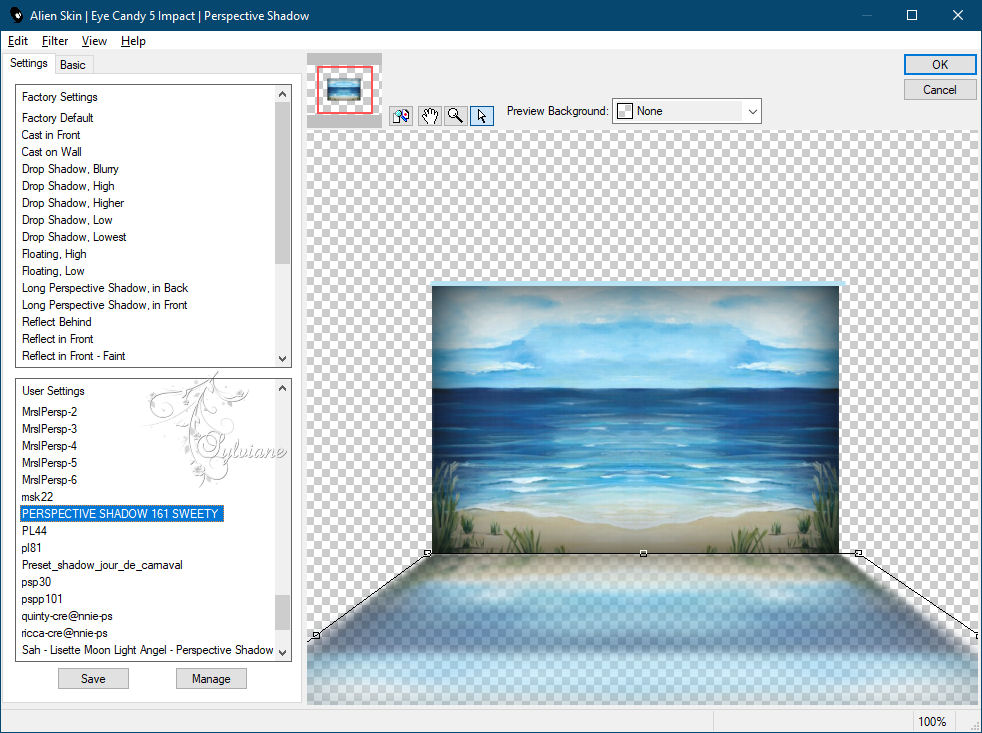
Plugin - Alien Skin Eye Candy 5 - Impact - Perspective Shadow
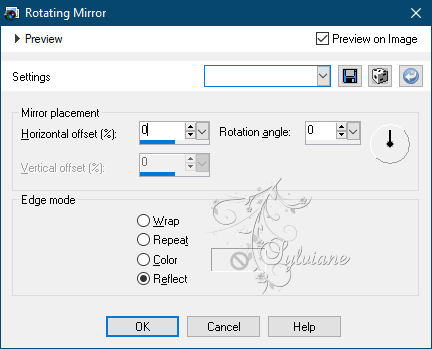
Effects – reflection effects – rotating mirror
8.
Open the item "DECO PERSO 2 161".
Edit – Copy
Edit - Paste as new layer
Levels - Arrange - Bring to Top.
Don't move.
Note: (In the material I put the selection * special decoration 2 161 *
Selections - Load / Save - Load selection from disk – SELECTION 5 161 .PspSelection
Layers - New raster layer.
Open uw landscape
Edit – Copy
Edit - Paste into selection
Selection - Select None
Layers - Duplicate
Image - Mirror – mirror Horizontal
Layers - Merge - Merge Down.
Layers - Arrange - Move Down
9.
Activate Raster 4
Selections - Load / Save - Load selection from disk – SELECTION 5 BIS 161 .PspSelection
Layers - New raster layer.
Open uw landscape
Edit – Copy
Edit - Paste into selection
Selection - Select None
Layers - Duplicate
Image - Mirror – mirror Horizontal
Layers - Merge - Merge Down.
Layers - Arrange - Move Down
Activate Raster 4
Layers - Merge - Merge (2x)
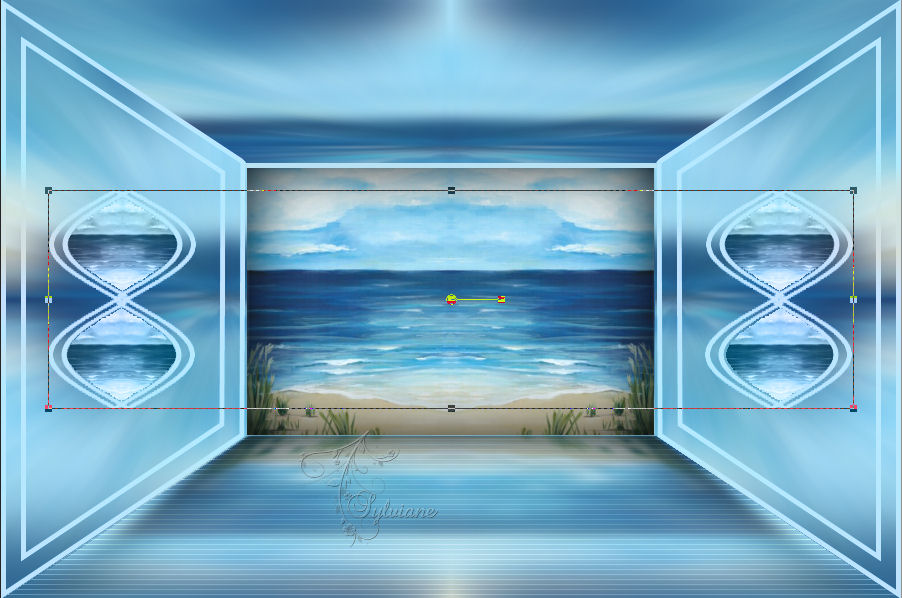
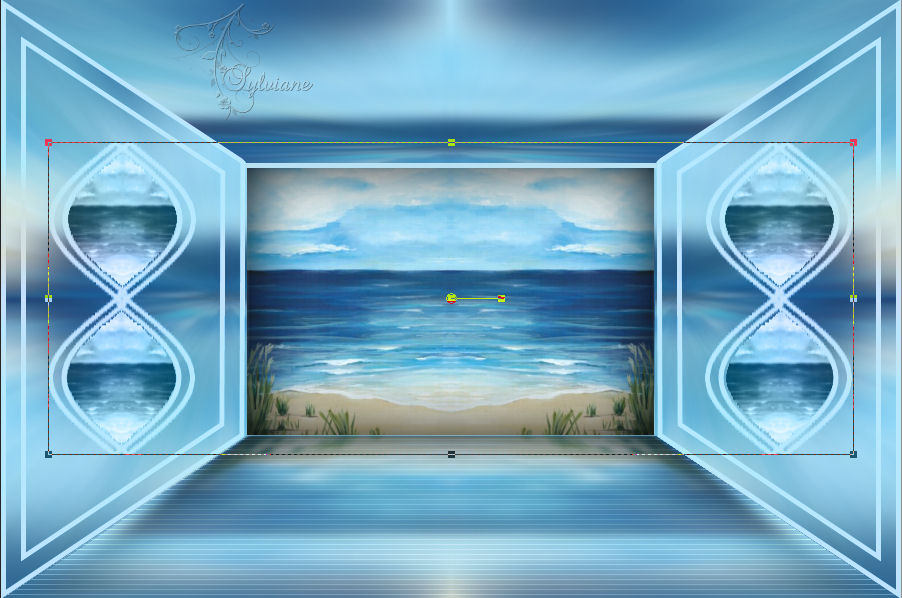
10.
Activate the Selection tool (K on your keyboard) and the Ruler, we are going to relocate the deco, pulling up and down
Effects - 3D Effects - Drop Shadow:
0/0/100/5 / color # 000000 or dark foreground color
11.
Activate Promoted Selection 1
Selections - Load / Save - Load selection from disk – SELECTION 6 161 .PspSelection

Plugins… Carolaine And Sensibility… CS Texture (same settings as in step 5)
Selections - Invert
Effects - 3D Effects - Drop Shadow
0/0/100/5 color: #000000
Selection - Select None
Stay on this layer
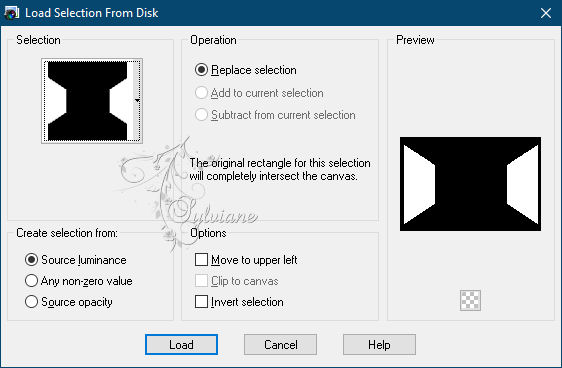
12.
Selections - Load / Save - Load selection from disk – SELECTION 7 161 .PspSelection
Layers - New raster layer
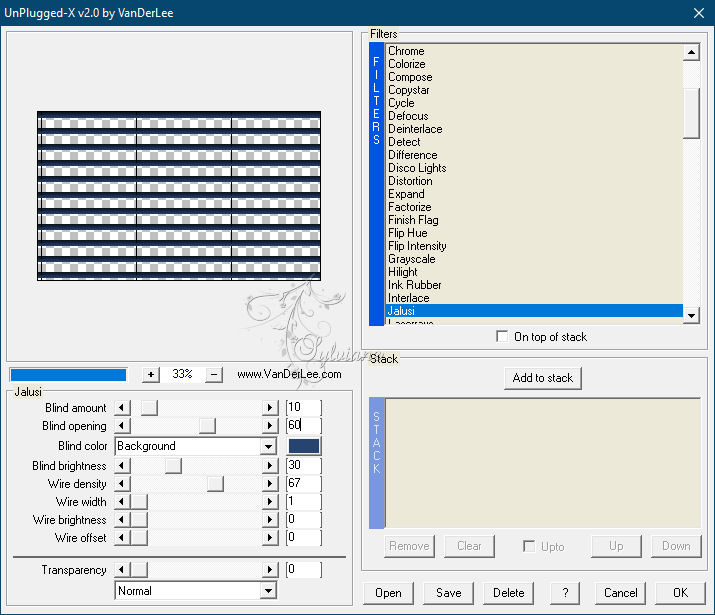
Plugin - VanDerlee… Unplugged X - Jalusi
Selections - Invert
Apply the same shadow as above and what you have in memory
Selection - Select None
13.
Open DECO PERSO 3 161 TUTORIEL 161 JUILLET 2021 SWEETY.pspimage
Edit – Copy
Edit - Paste as new layer
Activate selection tool (Press K on your keyboard)
And enter the following parameters:
Pos X : 1 – Pos Y : -1
Press M.
Layers – arrange – move down (2x)
Blendmode: Dodge
opacity of this layer to 45%
14
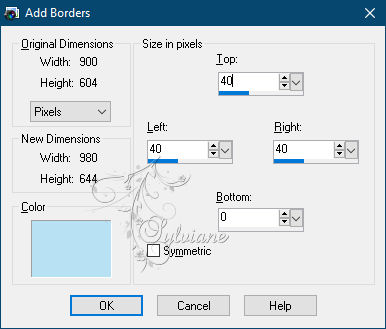
Image - Add Borders

Select all
Image - Add Borders
Now go to the .jpg image, let's work on it
Effects – reflection effects – rotating mirror
Edit ... Copy
Go back to your work
Selections – Invert
Edit - Paste into selection
15.
Keep selection active
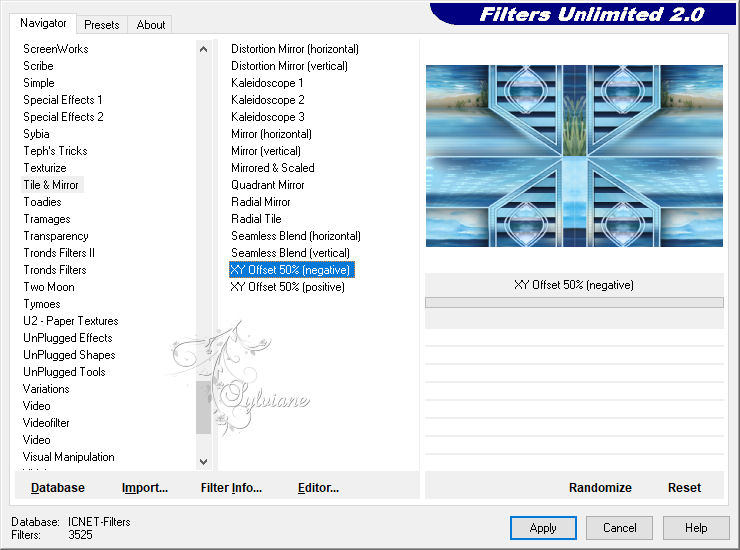
Plugin - Unlimited 2.0 - Tile & Mirror - XY Offset 50% (Negative)
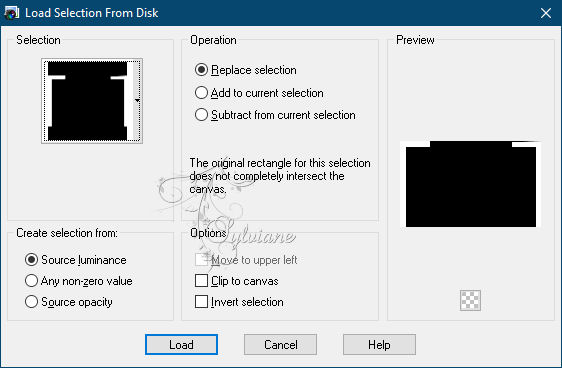
Selections - Load / Save - Load selection from disk – SELECTION 8 161 .PspSelection
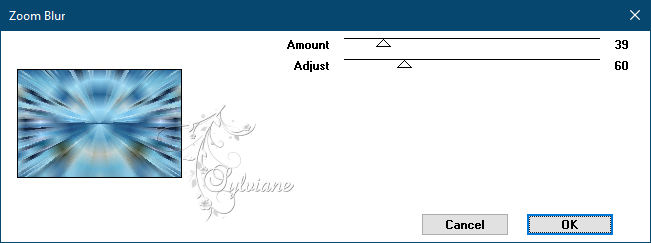
Plugins - VM Toolbox - Zoom blur
Effects – reflection effects – rotating mirror – same as before
Selections - Invert
Effects - 3D Effects - Drop Shadow
(0/0/100/50 / #Black)
Selections - Invert
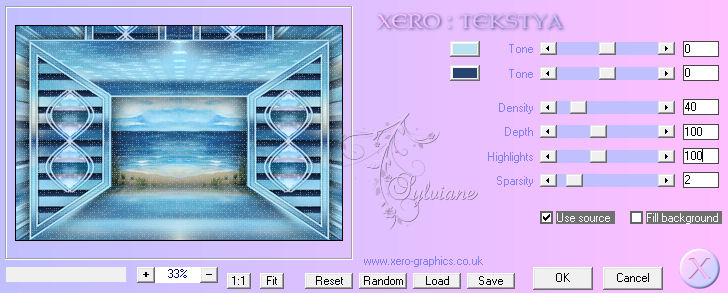
Plugin - Xéro - Tekstya
Selection - Select None
16
Open your main tube
Edit – Copy
Edit - Paste as new layer
Change the size if necessary. Here it was done at 80%
Position it and apply a shadow to your liking
Open AOUT 2021 SAC DE PLAGE 1 SWEETY.png
Edit – Copy
Edit - Paste as new layer
In this case, the flower decoration has been changed to 40%
Also apply a shadow to this decorative tube
17
Image - Add Borders – 2 pixels – color:#b8c2f2
On a new layer, add Sweety's watermark
Also add your signature or watermark, on a new layer
Layer – merge – merge all (flatten)
Image… Resize to 950 pixels wide
Save as JPEG
Back
Copyright Translation © 2021 by SvC-Design